How to create an email design template
Updated Nov 4, 2026
Build an email with draggable modules, then save it for your campaigns. If you already have a design file, use Upload HTML.
Open the editor
From Email Campaigns, click New campaign… and use Next until Design. Click Start from scratch, or choose Create from scratch in the Template list.
Drag modules from the left onto the canvas. Click a module to open its settings on the right.
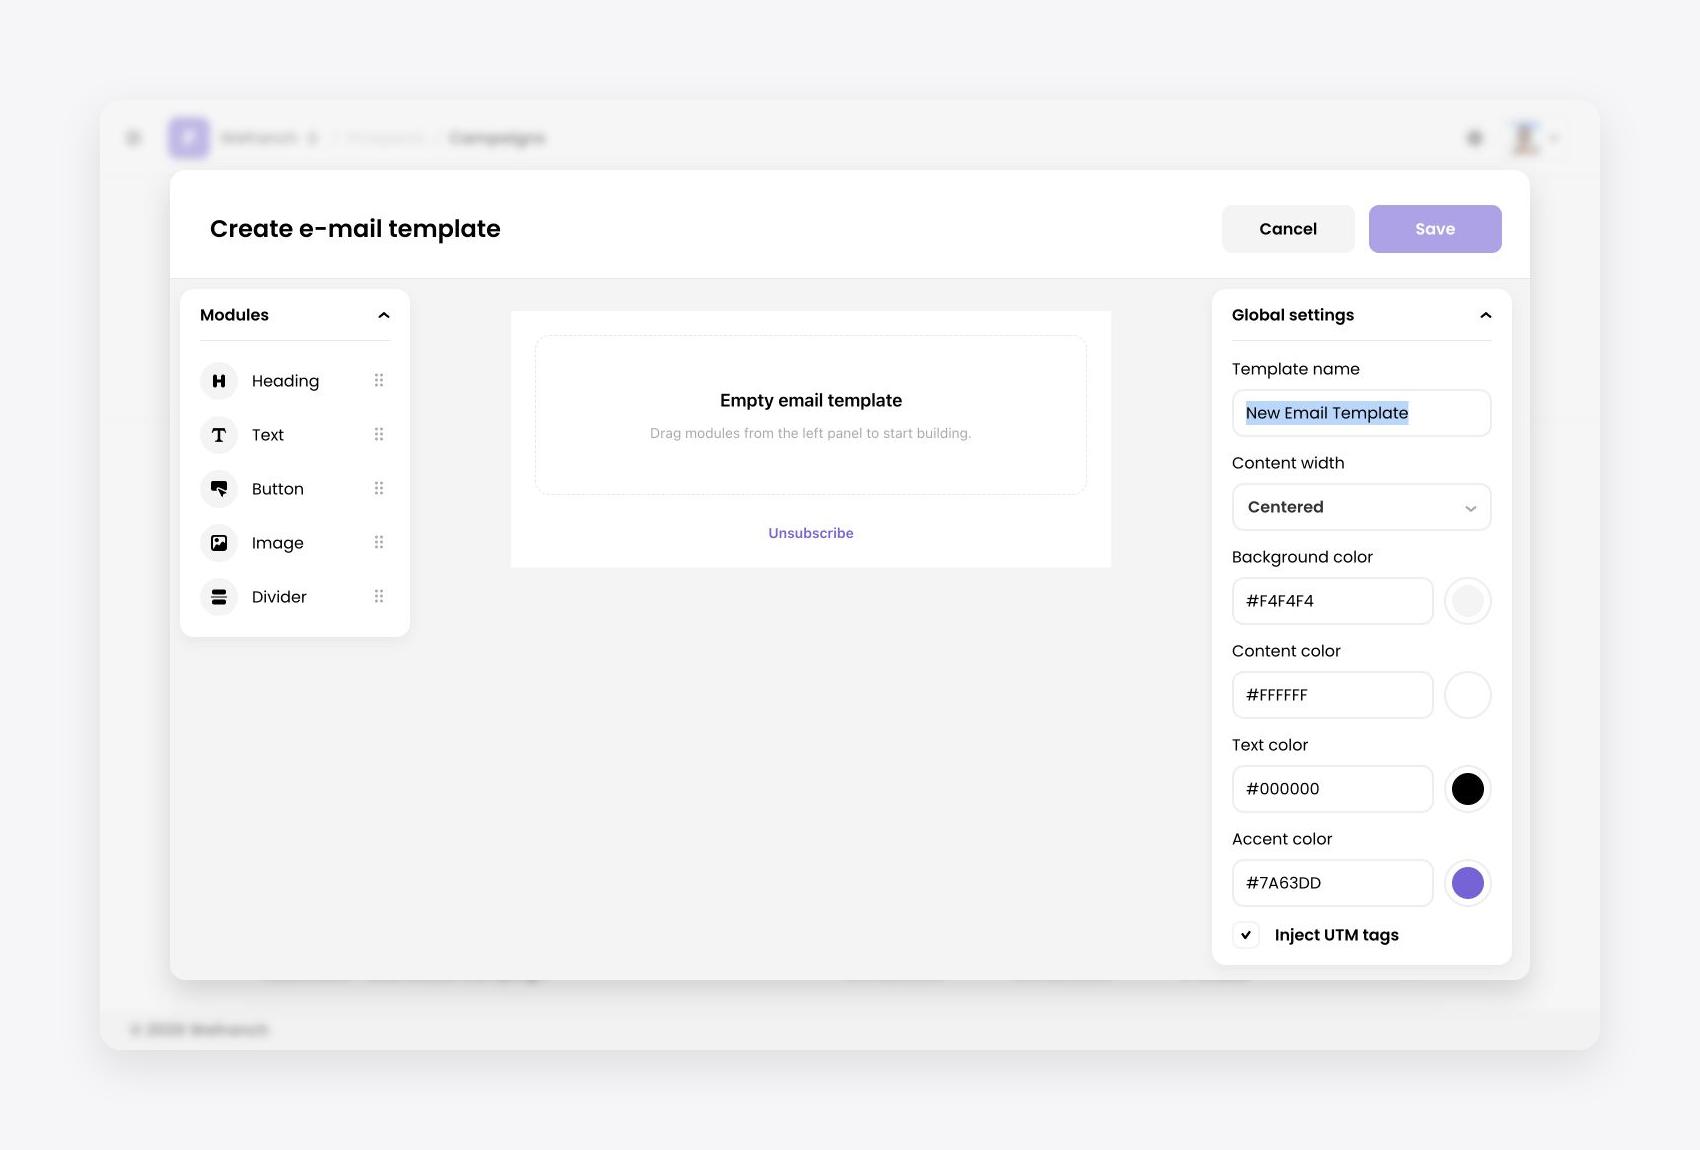 Modules, canvas, and Global settings
Add a logo or image
- Drag Image above the title.
- Click Select in Module settings and choose a file. Use Change to replace it later.
- Set Alignment, Max width (px), and Max height (px). For the logo below, choose Left and enter 48 in both size fields.
- Adjust Rounded corners; 0 px keeps the original corners. Add a Link URL or Caption if needed.
Scroll inside the settings panel to reach the size fields.
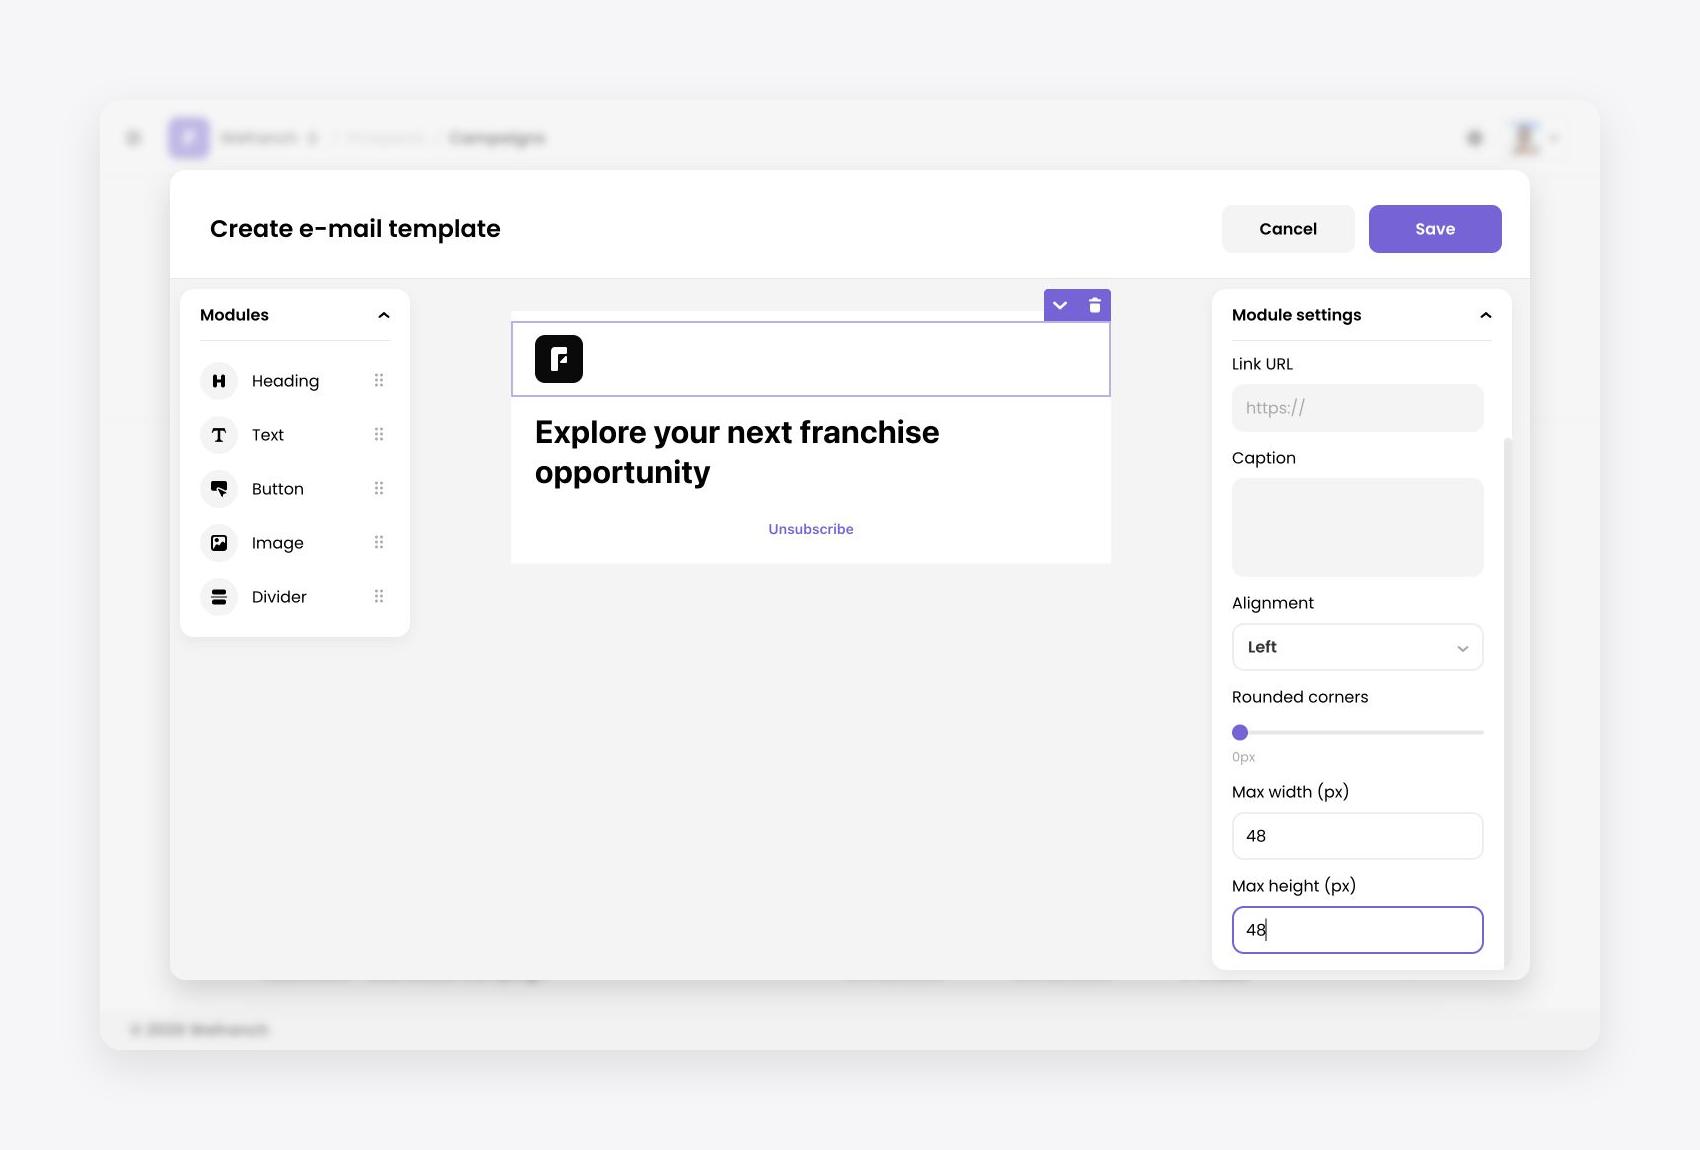 Logo aligned left above the title, sized to 48 × 48 px
Build your message
| Module | What to edit |
|---|---|
| Heading | Type on the canvas; choose H1, H2, or H3 and alignment. |
| Text | Type on the canvas. Use the toolbar for formatting, links, and lists; adjust alignment and font size on the right. |
| Button | Set Label and URL. Choose alignment, Auto or Full width, and rounded corners. |
| Divider | Add a horizontal line and choose its Color. |
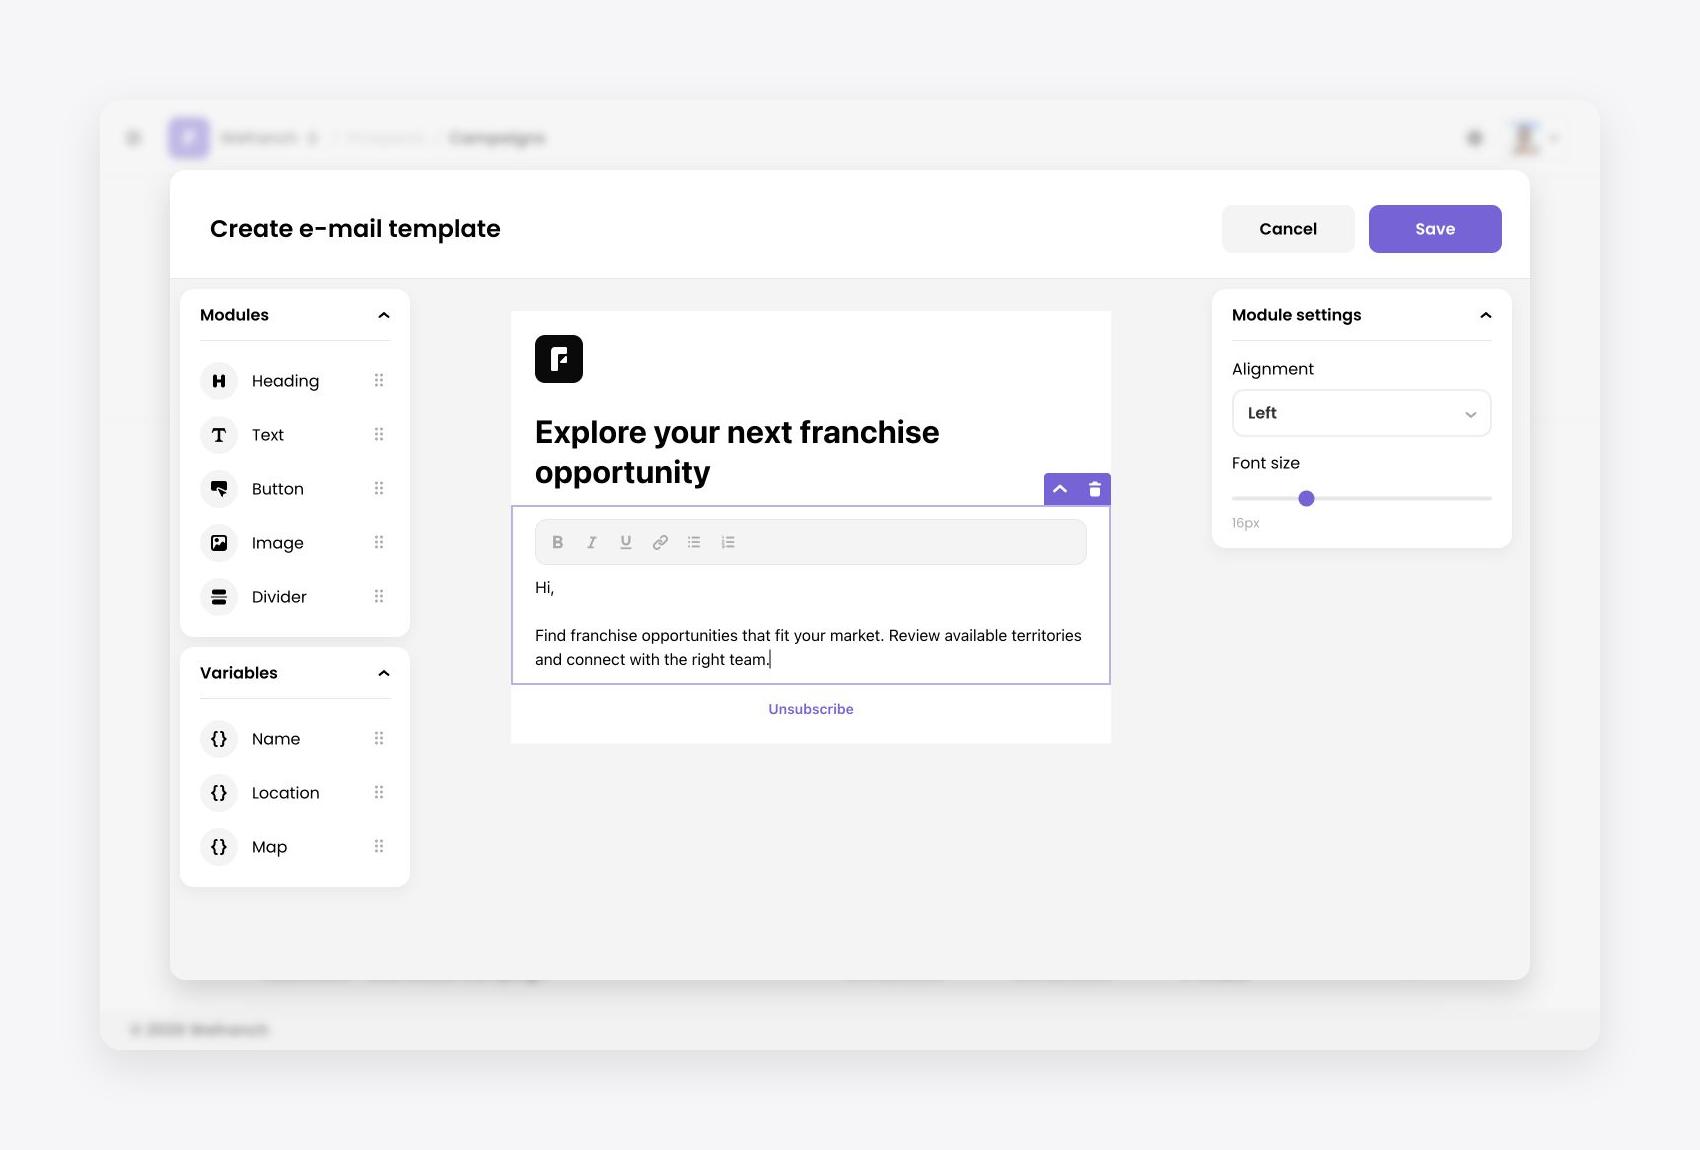 Text formatting toolbar and module settings
Use a module’s arrows to move it and its bin icon to remove it. To personalize your message, see Email variables.
Style and save
Click the empty area around the email to open Global settings. Set the Template name, choose Centered or Full width, and adjust background, content, text, and accent colors. Enter hex colors or use the swatches. Inject UTM tags is also available here.
Click Save. Back on Design, your template is selected automatically. Scroll inside the preview to check the whole email. It is also saved in the Template list for future campaigns.
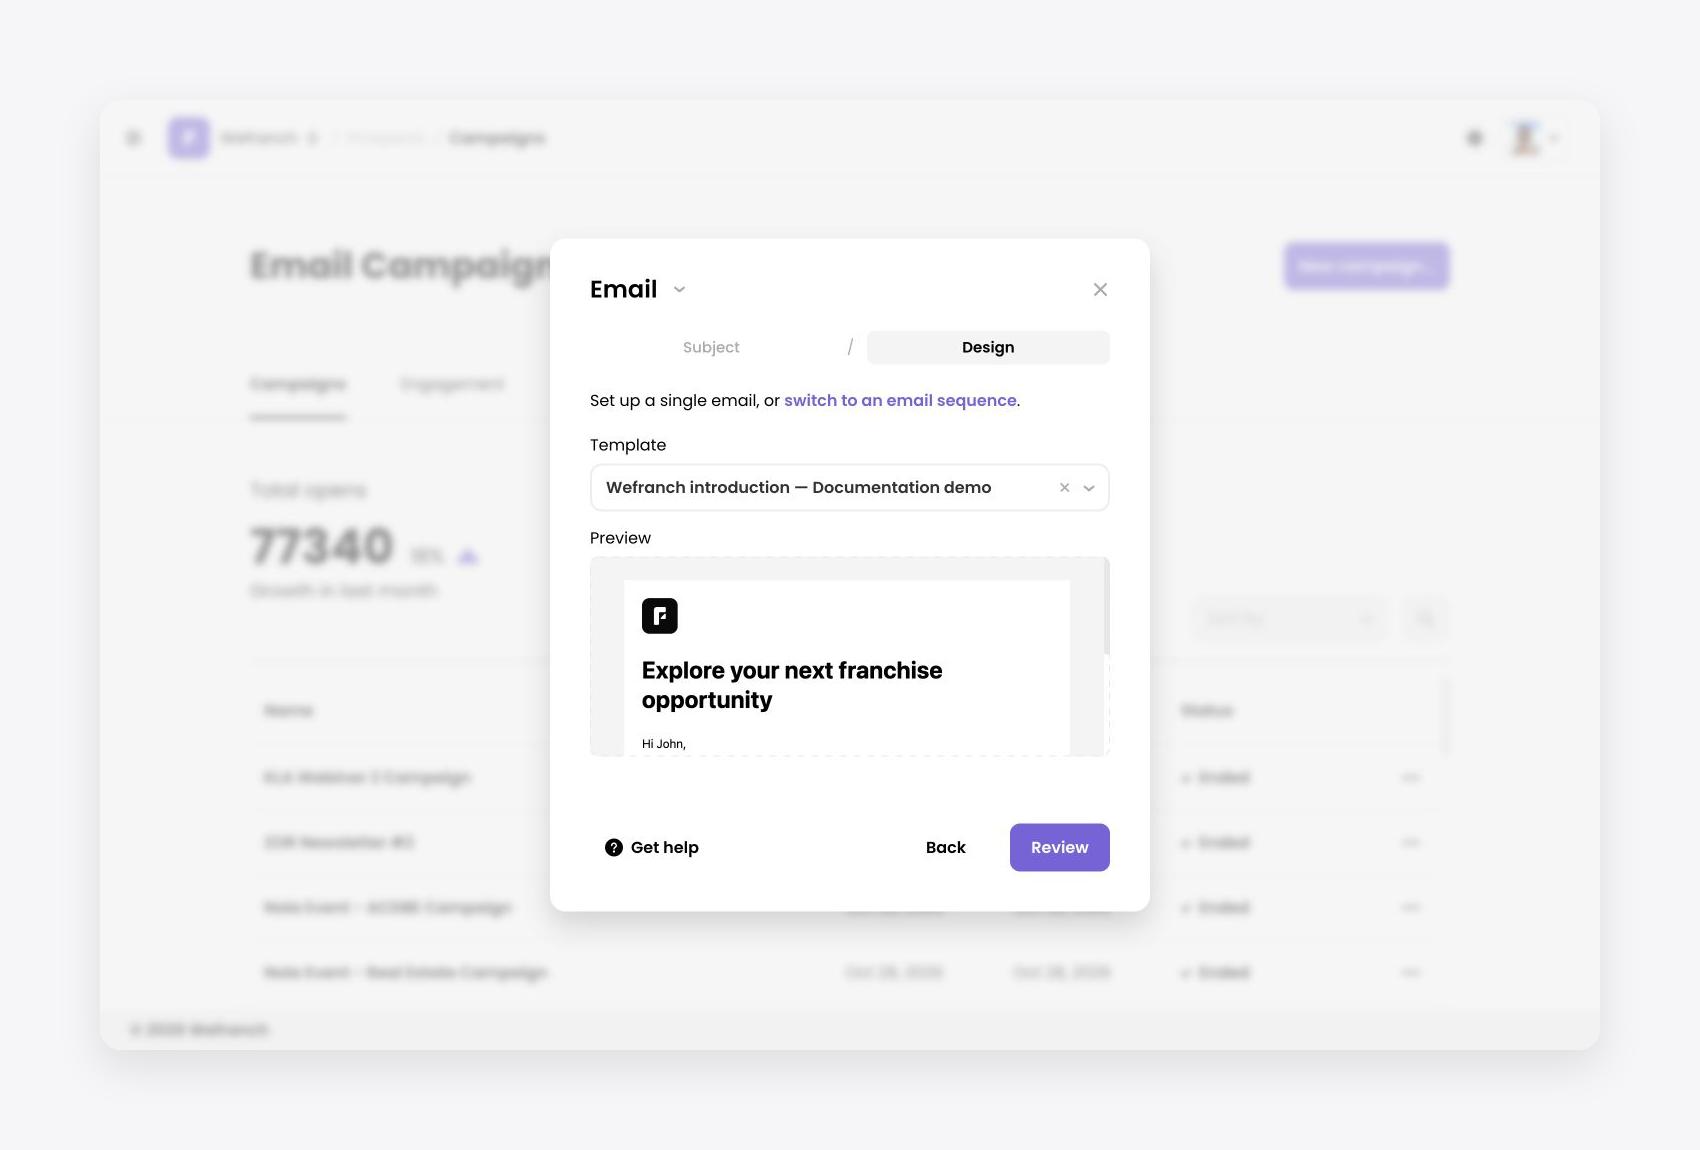 Saved template selected on the Design step
Saving a template does not send emails. Complete the campaign setup before sending.
For support, email [email protected].